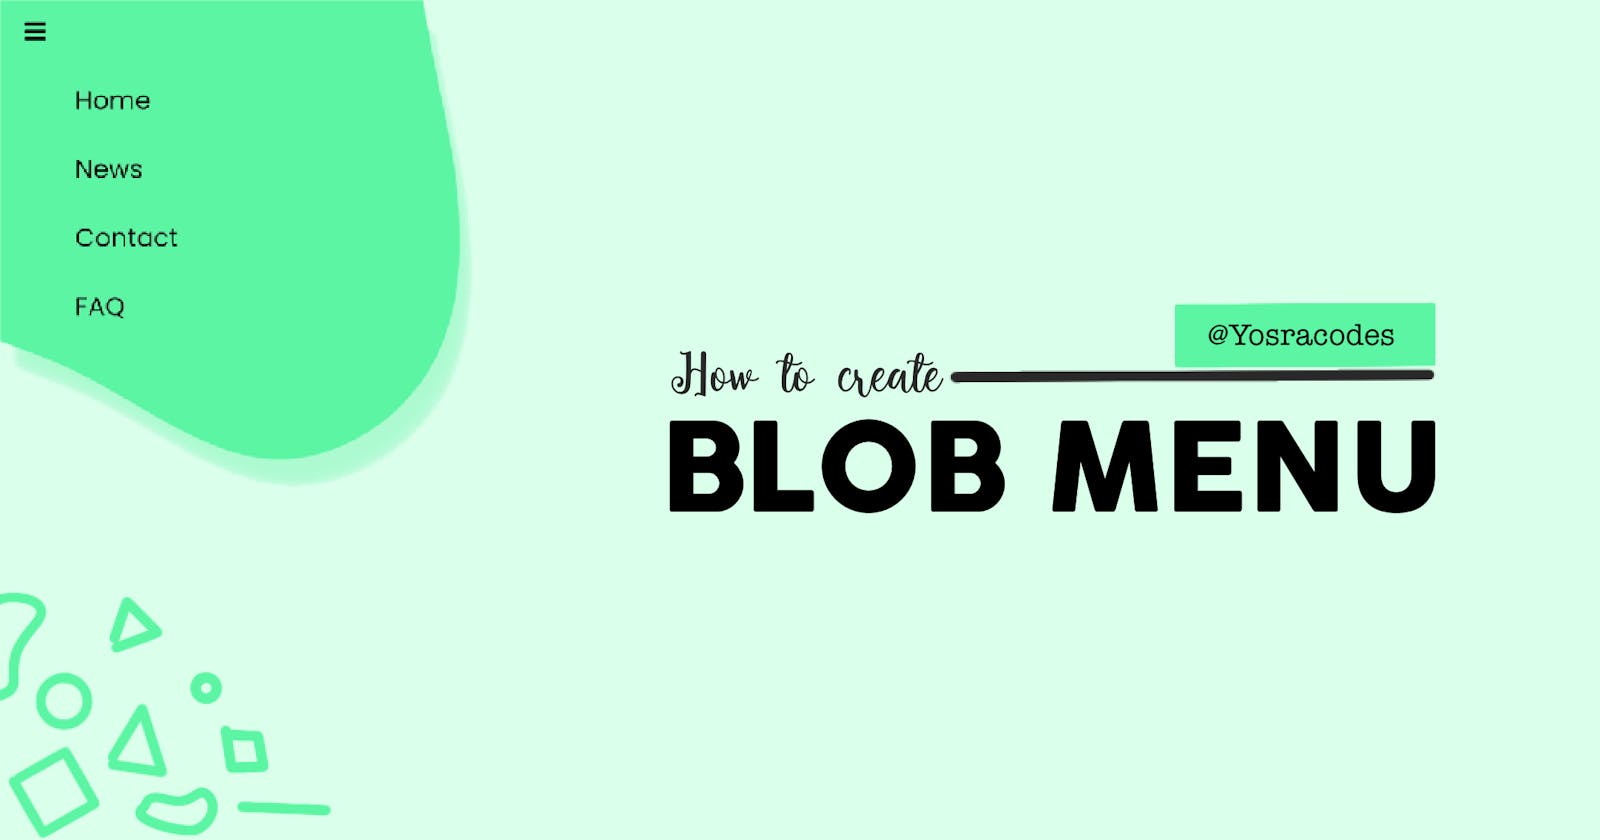
How to make blob menu using HTML, CSS and JavaScript
Motivation
I got this idea after I found this awesome website called The Blob Maker that creates blob menus and gives you the SVG code for it! I wanted to create something because I enjoy how blobs look like.
I wanted to make something simple with a little transition animation to make it look cool, so I created this blob menu! I got a lot of positive feedback when I shared it so here is the step-by-step process on how to create it.
HTML
<link rel="stylesheet" href="https://cdnjs.cloudflare.com/ajax/libs/font-awesome/4.7.0/css/font-awesome.min.css">

<svg id="blob" viewBox="0 0 200 200" xmlns="http://www.w3.org/2000/svg">
  <path fill="#5BF5A3" d="M43.2,-68.1C51.4,-61.9,50.4,-42.2,51.5,-27.2C52.7,-12.2,55.9,-1.8,57.9,10.7C59.8,23.3,60.4,38.1,54.4,49.6C48.3,61.1,35.5,69.2,23,68.4C10.4,67.6,-1.8,57.8,-13.7,51.9C-25.6,46.1,-37.2,44.1,-45,37.6C-52.7,31.1,-56.7,19.9,-56.6,9.2C-56.5,-1.5,-52.3,-11.8,-49.3,-24.2C-46.2,-36.6,-44.3,-51.3,-36.3,-57.6C-28.3,-63.8,-14.1,-61.7,1.7,-64.3C17.5,-66.9,35,-74.2,43.2,-68.1Z" transform="translate(100 100)" />
</svg>

<div class="nav">
  <a href="javascript:void(0);" class="icon" onClick="toggle()">
    <i class="fa fa-bars"></i>
  </a>
  <div id="links">
      <a href="/">Home</a>
      <a href="/">News</a>
      <a href="/">Contact</a>
      <a href="/">FAQ</a>
  </div>
</div>
Let's break this down:
- First, we got the
<link>tag which is used to import font awesome icons. I use Font awesome icon's 'bars' icon which is used to create the hamburger menu icon - Next, we got our SVG code which we got from The Blob Maker. (play around on the website until you create a blob that you like the look of).
- Lastly, we got our menu items
- Menu icon from font-awesome icons (check the class attribute) with an onClick Handler that will be linked with a function that hides and displays the menu icons.
- A "links" div that wraps all the items in the menu in one element to be shown or hidden
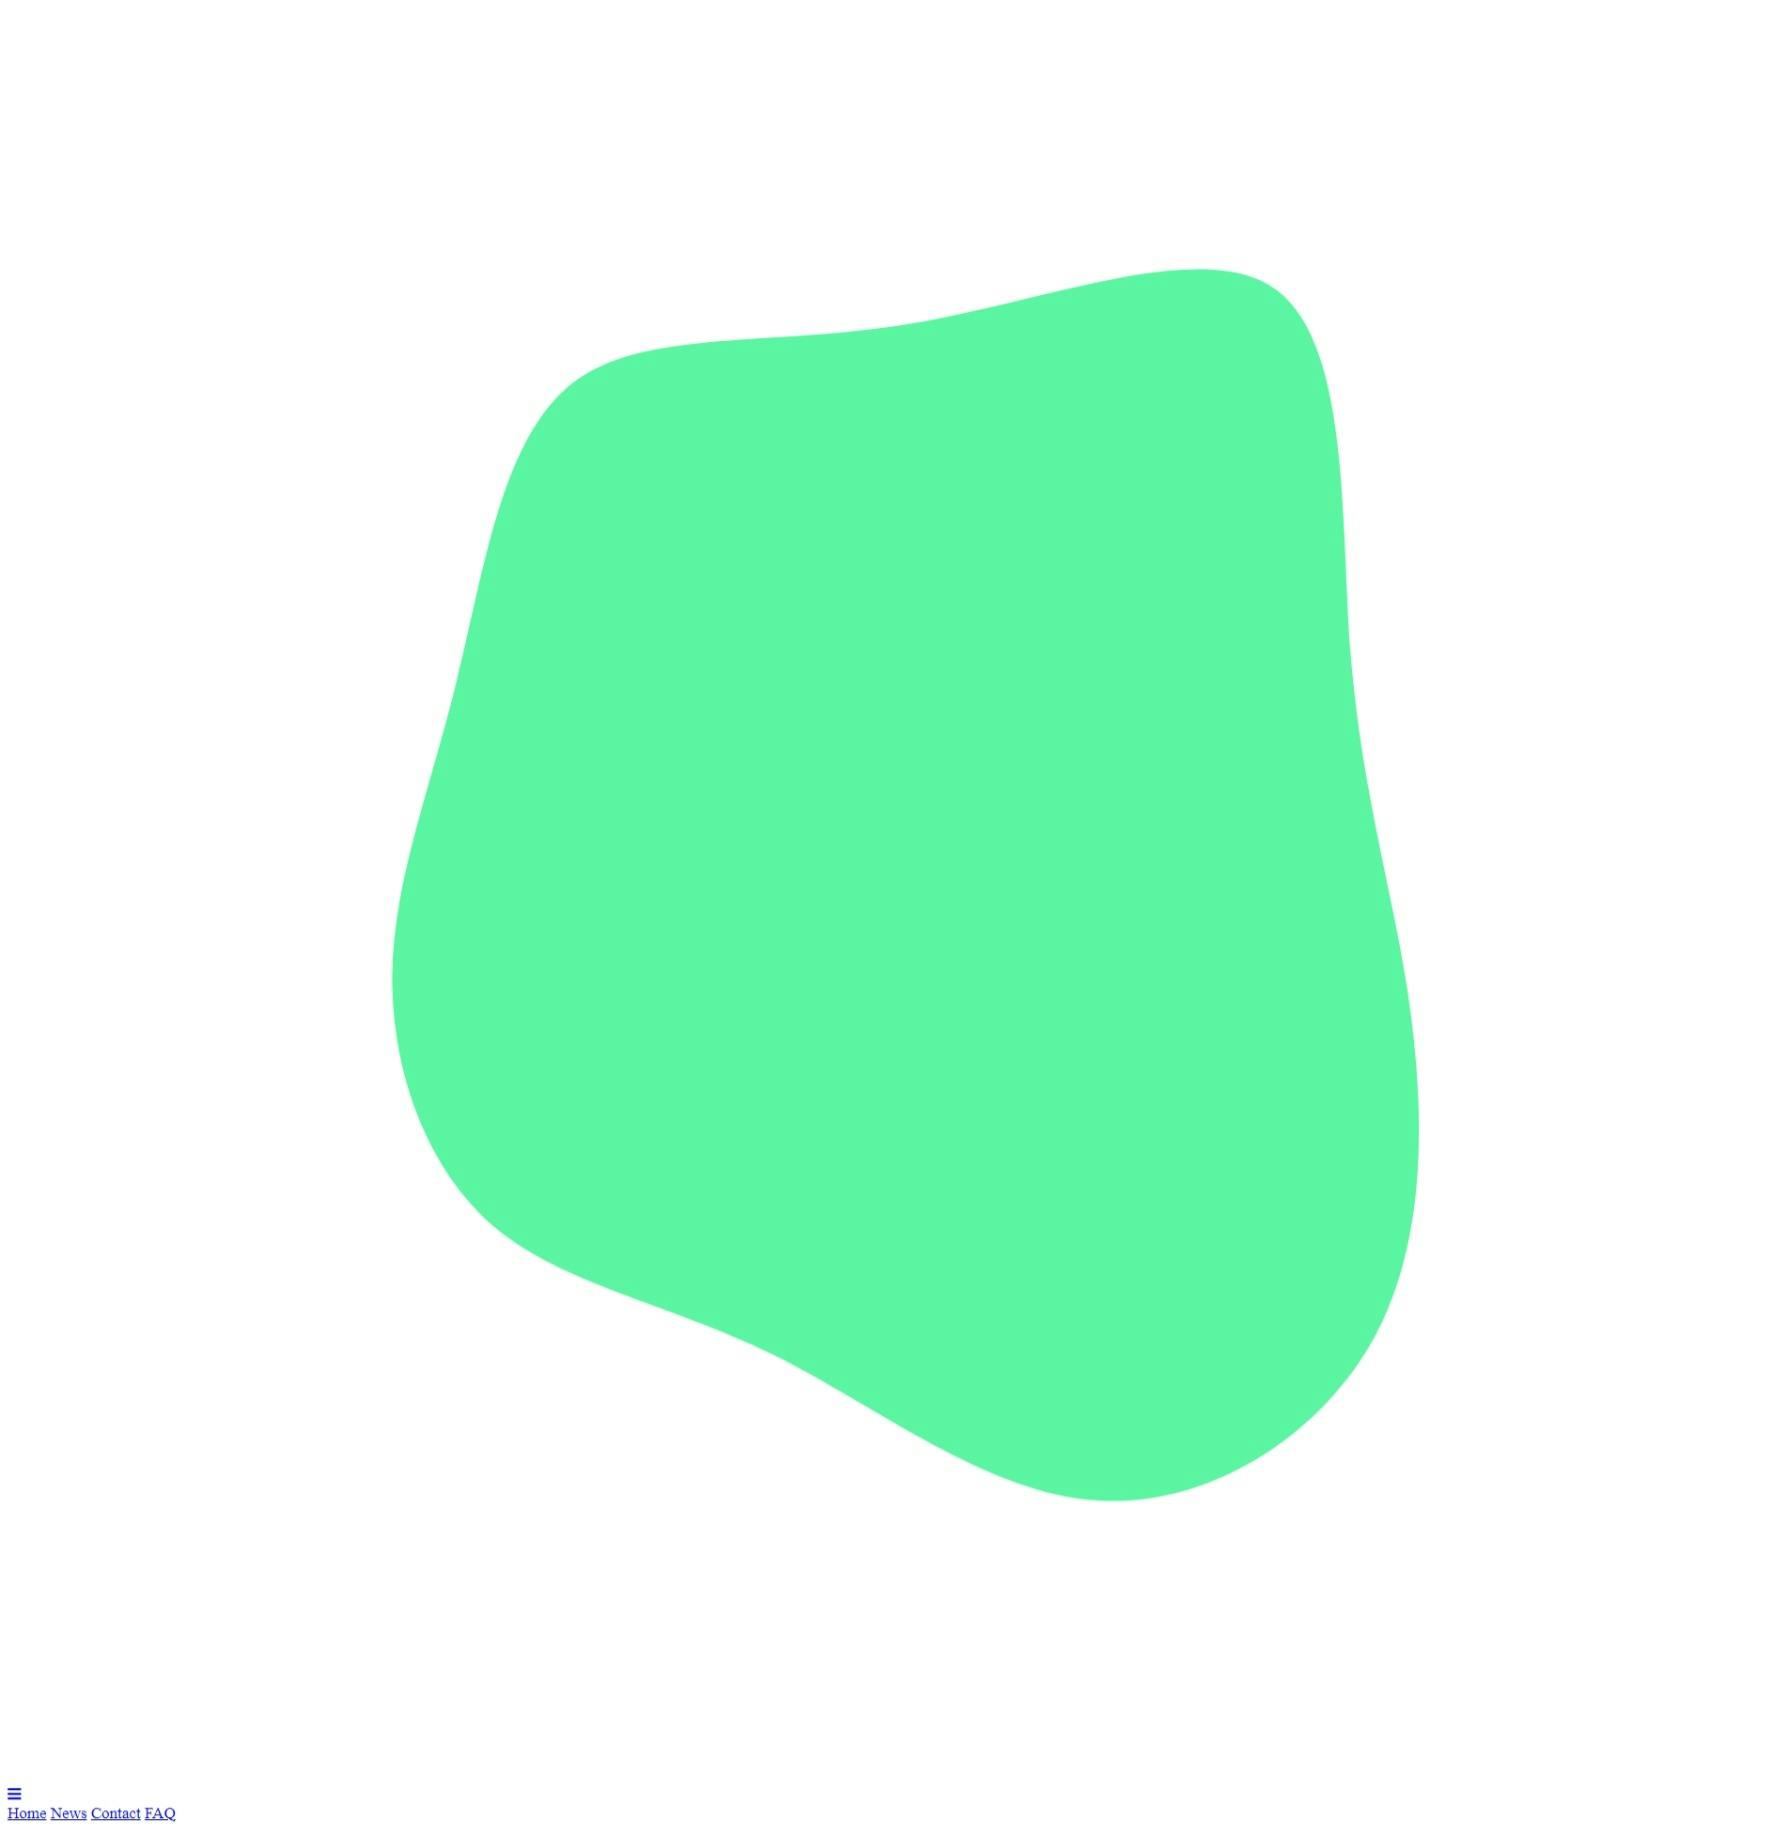
Now our website looks like this:

Don't worry about how ugly this looks now, we'll fix everything!
JavaScript
This is the JavaScript code to show and hide the menu items and the blob when the hamburger icon is clicked
function toggle() {
   let links = document.getElementById ("links") ;
   let blob = document.getElementById("blob");
   blob.classList.toggle("open");
   if (links.style.display == "block"){
      links.style.display = "none";
   } else {
      links.style.display = "block";
   }
}
Now our menu does this!

CSS
Here comes the fun part!
Initial Settings
I like to do some initial setup to my CSS code to make things easier to deal with.
Importing Poppins font
@import url('https://fonts.googleapis.com/css2?family=Poppins&display=swap');
I hate the built-in browser font, so I decided to use the Poppins font for the whole project!
Resetting CSS default properties
* {
  margin: 0;
  font-family: "Poppins";
}
This will override the default margin of the browser and make it zero. I like to specify my own margins. Another thing this piece of code does is make Poppins the default font for the whole project. So, any text in here will use the Poppins font.
Dealing with SVG
When the menu is closed
svg {
  position:absolute;
  height: 700px;
  left: -600px;
  top: -600px;
  display: block;
  filter: drop-shadow(10px 20px 5px #5BF5A380);
  transition: left 0.5s, top 0.5s;
}
This makes the SVG move out of the window, it's still there but it's out of sight now. It also changes its height and adds a drop-shadow to the SVG.
When the menu is open
svg.open {
  top: -280px;
  left: -250px;
}
This class will be added using JavaScript when the menu item is clicked. it will move the block to the place we desire and using the transition property, it will do so smoothly
Now our mini project does this:

We still got a lot of work to do but we're getting there!
Fixing the Navbar
.nav {
  overflow: hidden;
  position: relative;
  width: 100%;
}

.nav #links {
  display: none;
}
adding position: relative; to the Navbar will make the navbar on top of the blob. That way, the blob will not block clicking on the menu icon.
I also made the links hidden when the website loads because the menu should be closed by default.
Here is what we got:

we're getting there! yay!
Styling the NavBar
.nav a {
  color: black;
  padding: 10px 16px;
  text-decoration: none;
  font-size: 17px;
  display: block;
  animation-name: text;
  animation-duration: 1s;
}

@keyframes text {
  0% {
    opacity: 0%;
    transform: translateX(-100px);
  }
  50% {
    opacity: 0%;
  }
  100% {
    opacity: 100%;
  }
}

.nav a:hover {
  text-decoration: underline;
}

#links a {
  padding-left: 50px;
}
Here, I changed the text style and made the links underlined when you hover over them. I also added an animation that changes the position and the opacity of the links to give it this cool effect:

and we're done! we got our menu working!
Full CSS code
@import url('https://fonts.googleapis.com/css2?family=Poppins&display=swap');

* {
  margin: 0;
  font-family: "Poppins";
}

svg {
  position:absolute;
  height: 700px;
   left: -600px;
    top: -600px;
  display: block;
  filter: drop-shadow(10px 20px 5px #5BF5A380);
  transition: left 0.5s, top 0.5s;
}

.nav {
  overflow: hidden;
  position: relative;
  width: 100%;
}

svg.open {
  top: -280px;
  left: -250px;
}

.nav #links {
  display: none;
}

.nav a {
  color: black;
  padding: 10px 16px;
  text-decoration: none;
  font-size: 17px;
  display: block;
  animation-name: text;
  animation-duration: 1s;
}

@keyframes text {
  0% {
    opacity: 0%;
    transform: translateX(-100px);
  }
  50% {
    opacity: 0%;
  }
  100% {
    opacity: 100%;
  }
}

.nav a:hover {
  text-decoration: underline;
}

#links a {
  padding-left: 50px;
}
Conclusion
Creating things with CSS has always been a passion for me and I love when I find websites that help me in that process! Hope you enjoyed this small blog post :D Feel free to add suggestions to the code below!
